The short answer
A car respray follows a fixed sequence: assess and strip the old paint or damage, repair and fill any dents, flat and prep the surface, mask everything that should not be painted, apply primer, then the base coat (the colour), then lacquer (the clear protective top coat). Each coat needs flash-off time and modern 2K paints are booth-baked to cure hard. The job finishes with de-masking, reassembly and often a flat and polish to remove any texture. The spraying is quick; the quality comes from the preparation and the discipline of curing each layer before moving on.
A good respray is built up in deliberate layers, each doing a specific job. Understanding the sequence shows why preparation, not spraying, is where the result is won or lost.
The respray sequence
- FirstAssess, strip, repair, fill
- ThenFlat, prep and mask
- CoatsPrimer, base coat, lacquer
- CureFlash-off plus booth bake
- FinishDe-mask, reassemble, flat and polish
Preparation: where the result is decided
Most of a respray is preparation, and it is what separates a finish that lasts from one that fails early. The prep stages are:
- Assessment — the panel is inspected for damage, rust, old repairs and the existing paint condition.
- Stripping — failed, flaking or damaged paint is removed, sometimes back to bare metal on a full job.
- Repair and filler — dents are knocked back or pulled, then a thin layer of filler is shaped and sanded to the exact panel contour. Filler does fine shaping, not bulk hiding.
- Rust treatment — any corrosion is cut out or treated, because painting over rust simply traps it to spread under the new finish.
- Flatting — the surface is sanded smooth and keyed so primer and paint grip and lie flat. Too coarse and the scratches show; too smooth and the paint will not adhere.
Skipping or rushing prep is the single biggest cause of poor resprays — runs, orange peel, edges lifting and colour standing out against the rest of the car.
An often-overlooked part of prep is choosing the grade of abrasive at each stage. Stripping and shaping use coarser papers; the final flatting before primer and between coats uses progressively finer grades, sometimes wet. Too coarse a finish and the scratch pattern telegraphs through the paint; too fine and the next coat has nothing to grip. The painter also masks in stages and may use a soft edge or a reverse-masking technique at panel joins so there is no hard paint ridge. None of this shows in the finished car, which is exactly the point — good preparation is invisible, and it is what the durability of the finish rests on.
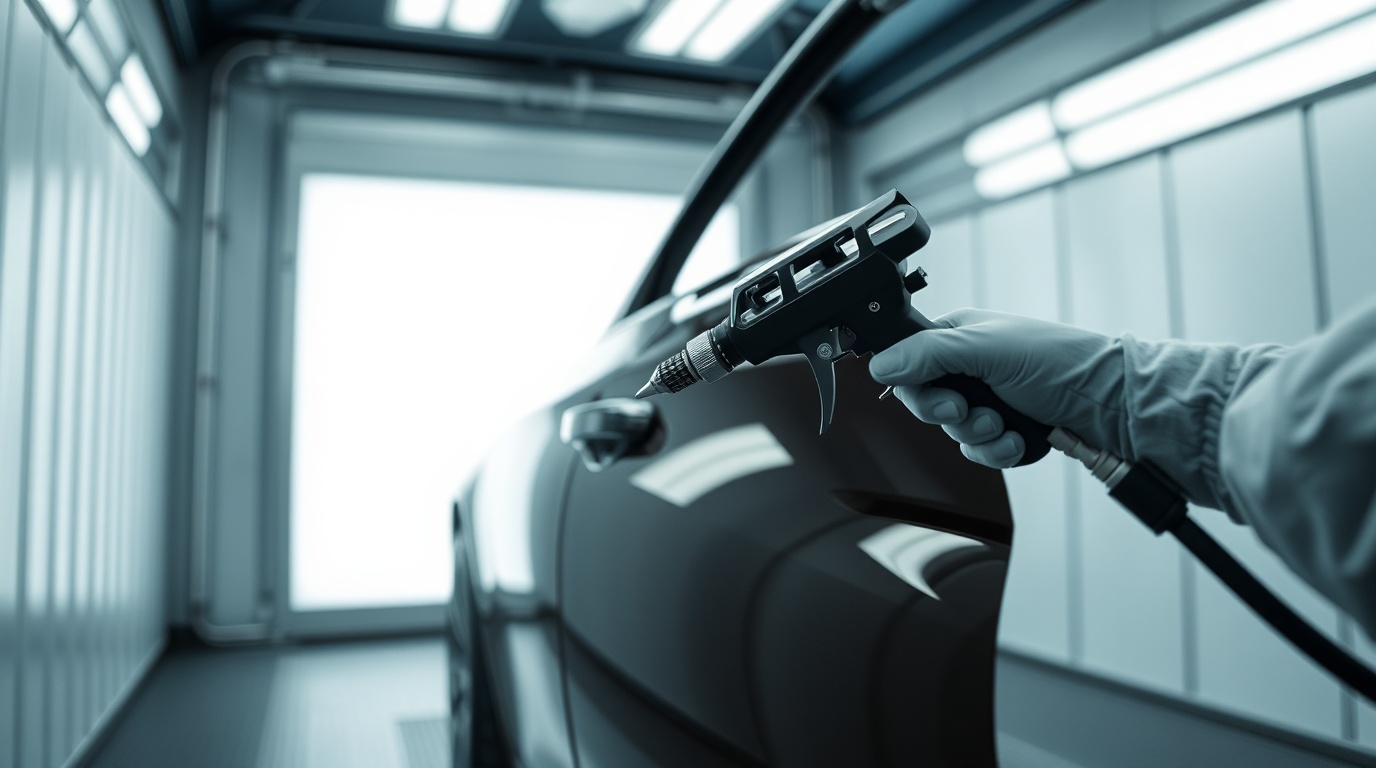
Masking and the paint coats
Before any colour goes on, the car is masked — glass, trim, rubbers, handles and any adjacent panels are covered so overspray does not land where it should not. Careful masking, including the door shuts and edges on a full job, is what gives crisp, professional boundaries.
The paint is then built up in three functional layers:
- Primer — goes on first to give the colour something to grip and to even out the surface. After spraying it is left to flash off (solvents leaving), often baked, then lightly flatted.
- Base coat — this is the colour. It is sprayed in coats with flash-off between them. Metallics and pearls are laid carefully so the flake lies evenly, and the repair is blended into surrounding paint where it is not a full panel.
- Lacquer (clear coat) — a clear protective top coat sprayed over the base. It provides the gloss, depth and UV protection, and is the layer that takes the wear of washing and weather.
Each coat needs its flash-off, and modern 2K (two-pack) paints are then booth-baked to cure them hard.
Curing, baking and the final finish
After the lacquer goes on, the panel is booth baked — held at a controlled temperature for a set time — to cure the paint to a hard, durable film far faster than air drying. A typical bake runs the booth warm enough to force-cure 2K lacquer in a fraction of the time air drying would take, though the exact temperature and time follow the paint manufacturer's data sheet. The booth is sealed and filtered so dust does not settle into the wet finish.
Once cured, the job is finished off:
- De-masking — all the covering is removed carefully so it does not pull at fresh edges.
- Reassembly — trim, handles, badges and lights are refitted; on a full job the panels are checked for alignment.
- Flat and polish — if there is any orange peel or texture, the lacquer is wet-flatted with fine paper and machine-polished to a smooth, even gloss that matches the rest of the car.
Even after the bake, fresh paint keeps hardening for days, which is why a good workshop advises waiting before washing or waxing. The whole sequence — strip, repair, prep, mask, prime, colour, lacquer, bake, finish — is the same whether it is one panel or a full respray; only the scale and the number of cure cycles change. Seeing it laid out makes clear why a respray is measured in days and why the preparation, not the spraying, is what you are really paying for.
Understanding the sequence also helps you judge a finished job. A respray that fails early almost always fails for a reason rooted in one of these stages — rust painted over rather than treated, filler that was not flatted true, a coat sealed before it had flashed off, or a bake that was cut short. None of those are visible the day you collect the car, which is exactly why the discipline of working through the stages in order matters so much. When a workshop talks you through how it prepped, masked and cured your panel, it is describing the part of the job that determines whether the finish still looks right in five years, not just five days.
| Stage | What happens | Purpose |
|---|---|---|
| Strip / repair | Remove old paint, fix dents, treat rust | Sound surface to build on |
| Flat / mask | Sand and key, cover what stays bare | Adhesion and clean boundaries |
| Primer | Grip coat, flash off, flat | Even base for colour |
| Base coat | The colour, in coats, blended | Matched, even colour |
| Lacquer + bake | Clear coat then booth cure | Gloss, protection, durability |
| Flat / polish | Wet-flat and machine-polish | Smooth, even final finish |
Indicative respray sequence for guidance — exact steps vary by job and paint system.
Frequently asked questions
Why is primer needed before the colour?
Primer gives the colour coat something to grip, evens out the prepared surface and helps protect the metal. Spraying colour straight onto bare or poorly prepared metal risks weak adhesion, an uneven finish and early paint failure, so primer is a standard part of a proper respray.
What does booth baking actually do?
Booth baking holds the freshly sprayed panel at a controlled temperature to force-cure the 2K paint and lacquer to a hard, durable film much faster than air drying. The sealed, filtered booth also keeps dust out of the wet finish, which is why bodyshop work is so much cleaner than open-air spraying.
Is flatting and polishing always needed at the end?
Not always, but it is common. If the lacquer has any orange peel or fine texture, wet-flatting and machine-polishing brings it to a smooth, even gloss that matches the surrounding panels. On a flawless spray it may be light or unnecessary, but it is how a repair is made invisible.
Sources & further reading
Figures on this page are typical UK ranges drawn from published sources and depend on your specific car and damage. They are guidance, not a quotation.